Welcome to Picadilly & Company

Picadilly & Company, creating home decor knick knacks one party at a time. We provide you and your guests a fun evening creating a home decor items while in your home. It's a great venue for a Girls Night Out, family get together, etc. However, before we can create them in your home, I create them for my home. And there are some things I do, that I just cannot bring to someone's home. So, check out what I'm working on, maybe it will inspire you. To visit the company website, go to http://www.picadillyandcompany.com/
Currently I am preparing for our holiday homes tour. I will begin decorating for Christmas the day after Thanksgiving. In the meantime I am creating different projects to decorate with. So, the ideas I am sharing do not show the final stage often due to that. In December I will post pictures of the final outcome. Thanks for stopping by. And please, check out the website above!
Michelle


11.25.2011

Button Wreath

I got this lovely idea from Pinterest. Out of courtesy I should share that it came from this website: http://gallopingpony.wordpress.com/2010/10/17/fall-retreat-2010/ I used a frame I have, I believe it is 14 x 14 and took the glass out.
I used a wreath I hade to make the circles as a guide to know where to put the buttons. However, I decided that it was to narrow and found something a little smaller to form a new inner circle. I used a 12x12 scrapbook paper.
I then simply hot glued all the buttons within the circle guides and then glued the bow on. It's that simple.

Bringing the Outdoors In

I am a wanna be gardener. I love fresh flowers and miss them a great deal when it gets cold. A few years ago I began saving my pruned hydrangea heads, drying them out and using them at Christmas time. This year I have added them to the Christmas tree, garlands and to this arrangement I threw together today. Note: To dry out hydrangeas, I simply throw them in paper bags and leave them in the garage until Christmas. I usually prune when they just start to turn brown, so I get more green. But this year I was a little late. I have this beautiful vase that in all honesty is usually put away. I'm always afraid the kids will break it.
I simply added styrofoam, put branches in from our curly willow tree and added the dried hydrangeas at the base of the arrangement. I added some Christmas sparkle with the beaded garland. It looks really pretty. Somtimes I think the photos don't show things very well. I need a photographer to come over. Hope you are enjoying decking your halls! Only 5 more posts to go for our month of Christmas Crafts!

11.24.2011

Christmas Wall Art

Happy Thanksgiving to ya! I am about to get busy making pies and the sides while the turkey is already in the oven. I wanted to create one thing for today, and it is simple. Jones Design Company has a few free printables once in awhile and got this Christmas print at: http://jonesdesigncompany.com/holiday/christmas-goodies-week-art-print/ I started with this:
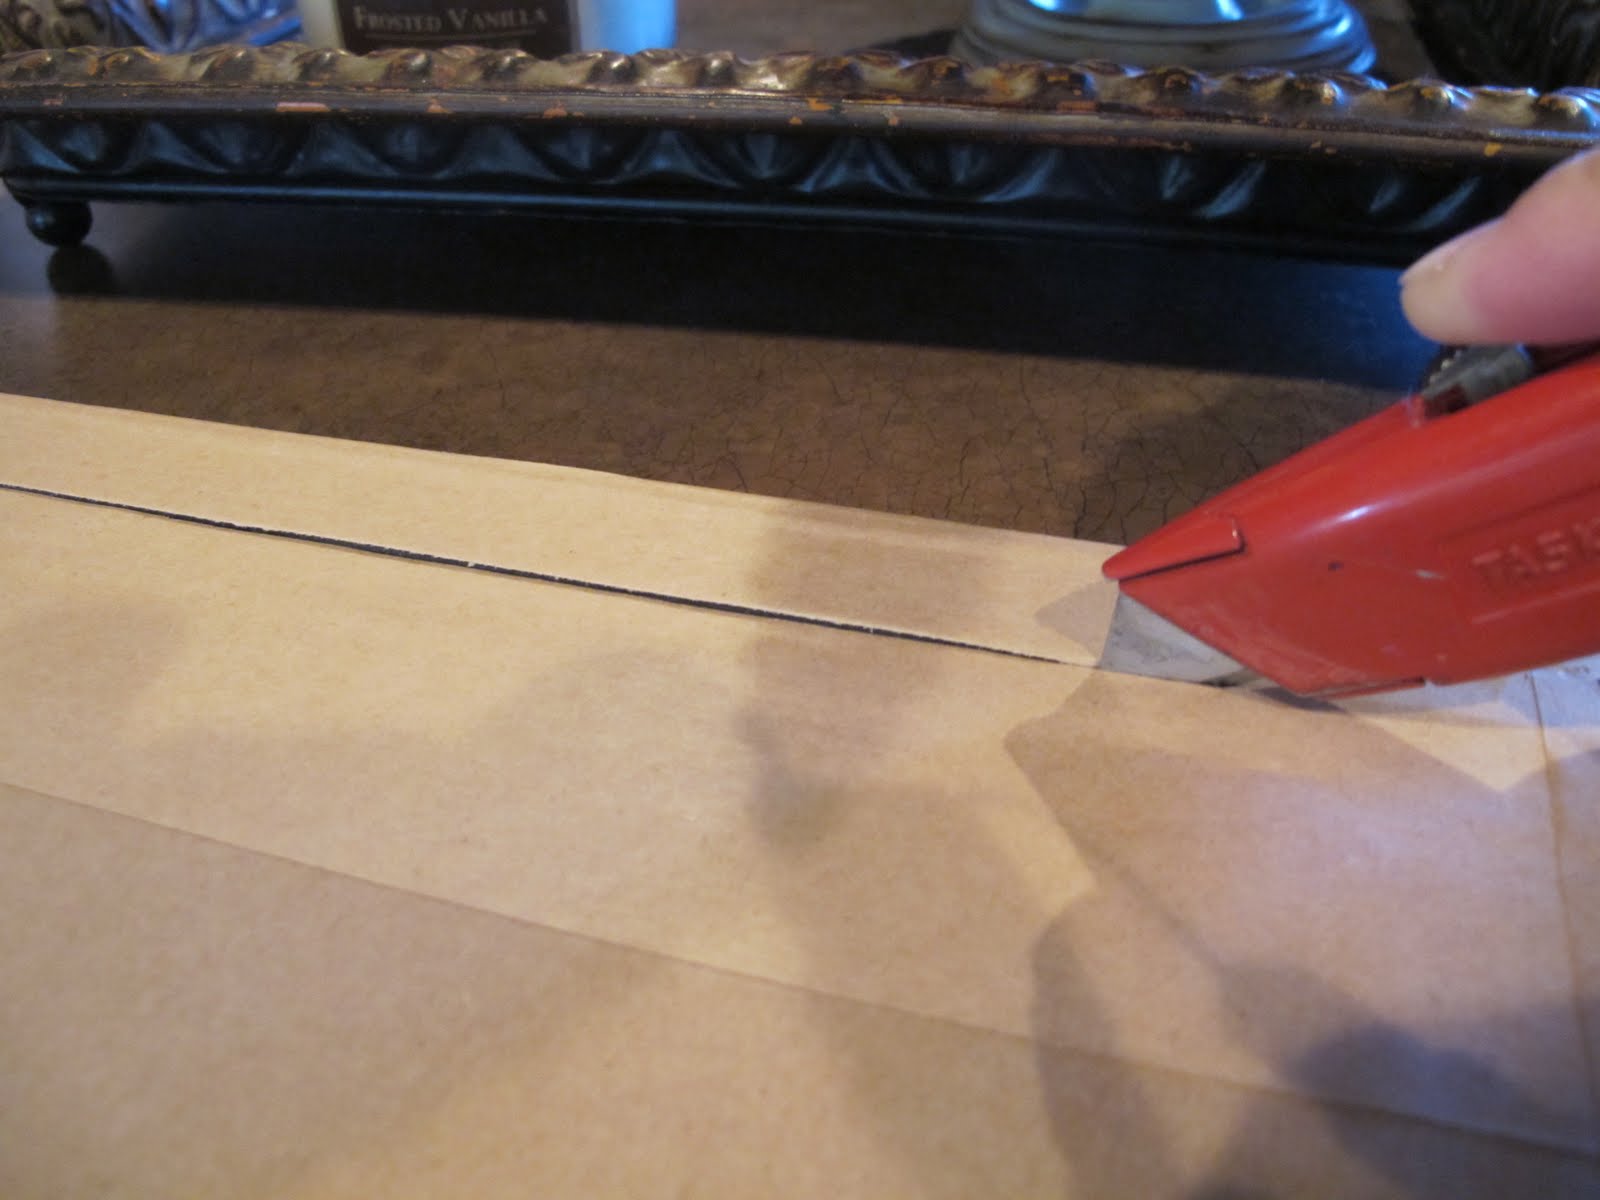
I opened up the back using a box cutter.
I then centered the printable and secured it with masking tape. I replaced all the backings of the frame and hung it. I LIKE!

11.23.2011

Front Porch Christmas

We are having beautiful weather here in Kansas City, so I decided to put up my three Christmas trees on the front porch. I have always liked the skinny little pine trees, especially for outside. I utilize my flower pots to put the Christmas trees in. A couple of years ago, I found burlap coffee bags, and decided to put the pots in the bags this year. Unfortunately, the center pot is too big for the bag. One of the challenges we have is that our front door faces the south. So, we get a lot of wind in the winter time. Every year we have a tree that has fallen down. My dad helped me and the two larger trees we actually wire to the pot. It works beautifully.
Once the trees are sturdy, on top them with oversized ornaments. I think it looks fun for outside. I secure them by twisting the wired pine brances through them, around them, whatever it takes.

11.22.2011

Oh Christmas Tree

This was a really fun little craft to do this evening. I used: 6" styrofoam cone pages from an old hymnal circle punch (1 1/8") hot glue old candle holder
I punched a bunch of circles from music from a hymnal. I then curled the circles by wrapping them around a pencile for a few seconds.
I then began hot gluing the circles onto the tree covering the styrofoam thoroughly. I layered the circles atop each other. One row I began gluing to the left and the next to the right. I don't know if it made a difference, but I wanted to avoid uniformity.
I continued almost all the way to the top, leaving about a 1/4". Next I cut approximately a 3" square from the music and made a cone shape, securing it with hot glue. I then cut the cone bottom to make it even, and hot glued it to the top of the tree, overlapping the circles.
I added more curled circles atop the cone, and then hot glued it to an old wooden candle holder.

11.21.2011

Paper Snowflakes OR Stars OR Poinsettia, Whichever

My oh so crafty friend Sheri taught Sarah and I how to make these sweet little snowflakes...or poinsettias, as that is what they look like to me. Sheri also gave me old music sheets that her sister Jodi found in her barn. All of that is important information to you I'm sure. I made five of them and hung them from our light fixture above our stairway. At that top of the fixture you'll notice I attached a wreath and wrapped burlap garland around it. I love the look of it. And after making a few I will attempt to make instructions as simple as possible. You will need: paper up to 12" wide. The smaller the paper the smaller the snowflake hot glue gun 1. Cut 12 3/4" strips and fold in half. You can make them thinner or wider.
2. Take six strips and layer them, weaving them together. In the picture below I put which way the opening of the folds should go. It does not matter which way the middle (M) strip faces. This is important (but not crucial) to a later step. I hot glued all the places in which two pieces crossed. Sheri prefers to simply hot glue the two middle strips. Repeat this step with the remaining six strips of paper.
3. Using north, south, east, west as a description you take the north, right strip and connect it to the east top strip. To do this open up one side and hot glue the end of the other strip inside it. Continue until you have formed 4 corners that look like petals. Repeat this step with the 2nd set of layered strips.
4. On both sets you should have 4 straight pieces sticking out. It is now time to glue the two sets together in the center. When you do this, make sure that one set of straight pieces forms an X and the other set forms a cross +. Glue the backs together.
5. Next you will attach the straight pieces to the center point of each petal with hot glue. When you do this, weave the straight piece through as if you were weaving.
6. You should now have an 8 pointed star, snowflake or poinsettia. Whichever you'd like to consider it to be.

11.20.2011

Jingle Candle

I originally saw this idea at through Pinterest at this website: http://re-purposed.blogspot.com/2010/12/pottery-barn-inspired-candles.html I believe she used what I would call the Catholic candles from the Dollar Tree. I decided to use cylander vases instead and basically do the same thing. I got the vases for .49 at the thrift store. I then used just a dab of hot glue to secure the twine in place. I wrapped the twine tightly and secured the end in placed with hot glue. I then used a separate piece of twine with the two bells at each end. To get a fuller bow from the twine, I unraveled the cords of twine. My girlfriends Sheri and Sarah also made one with the end result:
I hope you followed the directions. I have to hurry to go catch a movie! Gotta run!